How to Add a Custom Tab to the WooCommerce Single Product Page

If you’ve been following along with our previous posts about customizing WooCommerce pages, you know that we can utilize hooks to place content all over the page (and site) without having to mess with the default template files.
While the WooCommerce Single Product page is full of valuable information, inevitably, a client will want something additional.
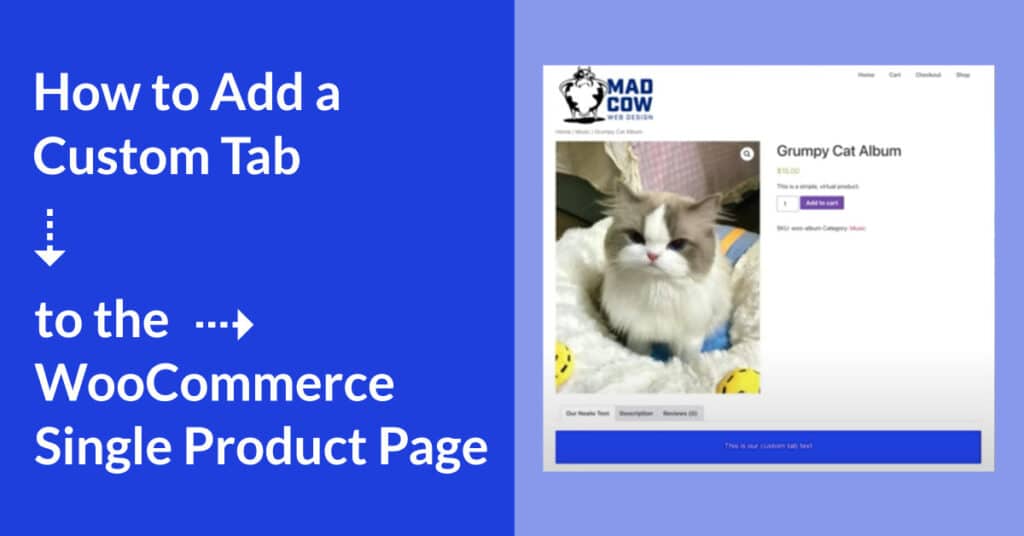
In this post, we’re going to add our own custom tab to the Tabs section at the bottom of a WooCommerce Single Product page.
///
Action hook vs. Filter hook
For our exercise in this post, we’re going to change gears a little bit from what we usually do. Although we’re still going to be using our favorite tool (the hook) to accomplish our task, we’re instead going to use a “Filter” hook instead of an “Action” hook.
Filter hooks are a little more precarious because the filter is “taking in” some data (doing something with it) and then “returning” that manipulated data.
In the simplest terms, a coffee filter takes in water and coffee grounds and then “returns” the scrumptious, caffeinated nectar of the gods. ☕️
///
Example IRL: Add a custom tab
In our example today, we’re going to “take in” the entire group of tabs, add our new fancy tab, and then return the group.
- This group will now contain our tab as well as the native or default tabs that WooCommerce provides.
- There are many things you can do with that same group of tabs. For example, you can use this same filter and change the name “Description” to “Cheeseburger.”
Again, we are receiving the entire group of tabs—and now have the ability to manipulate them however we like. 🤓
—
Let’s get started by taking a look at the code.
I like to show the code visually since VSCode (Visual Studio Code) looks so much better than just plain text.
If you click on the image above, it will bring you to the Gist (a Gist is a GitHub repository) where you can copy the code, if you like. Or view the cart/checkout code from the video.
—
What’s the code doing, in a nutshell?
Much like our conditional content function in this post about $categories, we’re “receiving” the $tabs variable on line 4 into our function.
What’s important to understand is that the $tabs variable is defined (or equals) an “array of arrays.”
—
Unpacking the TABS Array
The easiest way to think of the TABS Array is a nested list:
- TABS Array
- Description Tab
- title
- priority
- callback
- Reviews Tab
- title
- priority
- callback
- Description Tab
What you’re looking at:
- You can see the first list item is our $tabs array.
- Inside that array is our Description tab, and that is also an array.
- The next one is the reviews tab array.
What we’re going to do:
What we’re going to do (on line 5) is “inject” (my word, that’s likely not the real word!) our own tab array called “neato_text_tab.”
And remember, because this is a “filter,” when we “return” this $tabs variable back to the website on line 10, it will now include our third array.
- TABS Array
- Description Tab
- title
- priority
- callback
- Reviews Tab
- title
- priority
- callback
- neato_text_tab
- title
- priority
- callback
- Description Tab
Two more array definitions:
The “title” piece is pretty self-explanatory, but let’s look at the other two items in the array.
- The “priority” is exactly like the priority we talked about in the other hooks we’ve used.
- If we set our priority to a high number, the tab will end up at the end of the tabs list on the page. If we make it low (like “5” above), it will show up early.
- The description tab has a priority of 10, so as long as our priority is lower than that, we’ll end up in the top spot.
- The “callback” is a clean way to tell the function what is going to end up in that tab.
- We created a function on line 13 that will handle that for us.
///
Watch the training video ► WooCommerce: Add Custom Tab to Single Product Page
In case you’re more of a watch-er than a read-er, I put all the stuff above into the video below!
Want to learn even more WordPress?
Check out our WordPress Training page!
. . .


